
Valve guides play a critical role in engine performance by ensuring proper valve alignment and sealing. Over time, wear and tear can lead to issues like oil consumption and reduced efficiency. Replacing valve guides requires precision and specialized tools to maintain engine integrity and performance.
Understanding the Importance of Valve Guides
Valve guides are crucial for maintaining proper engine performance by ensuring valves operate smoothly and efficiently. They prevent excessive oil consumption and maintain the integrity of the valve train. Over time, wear and tear can lead to issues like increased oil consumption, reduced performance, and potential engine damage. Properly functioning valve guides are essential for maintaining combustion efficiency and overall engine reliability.
Overview of the Replacement Process
Valve guide replacement involves removing the old guides, inspecting the cylinder head, and installing new ones. Pressing out the worn guides and reaming the area ensures proper fitment. New guides are then pressed in and reamed to precise dimensions for optimal performance. Proper alignment and fitment are critical to prevent future issues. The process requires specialized tools and careful measurement to maintain engine integrity and functionality.
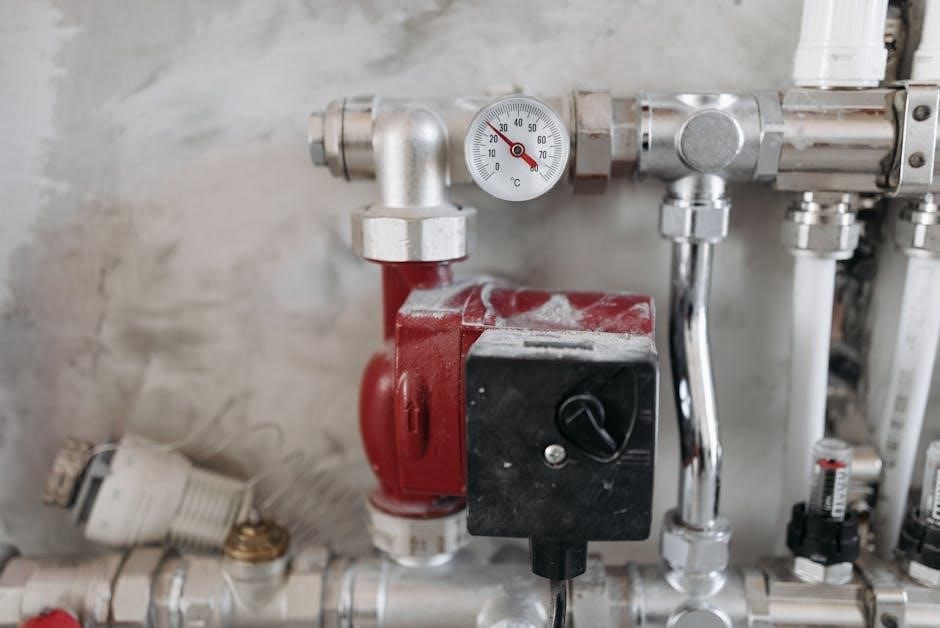
Tools and Materials Needed for Valve Guide Replacement
A deep well socket, valve guide reamer, and a hydraulic press are essential for removing and installing guides. Measuring tools ensure proper fitment, while a drill press aids in precise alignment. Bronze valve guides, sealants, and new valve stems may also be required. Specialized tools are crucial for a successful replacement process, ensuring accuracy and preventing further engine damage.
Essential Tools for the Job
A deep well socket slightly larger than the valve guide is crucial for removal, while a smaller socket can be used on top. A valve guide reamer ensures proper sizing, and a hydraulic press is necessary for pressing guides in and out. Measuring tools like calipers or micrometers are vital for accurate fitment. A drill press aids in precise alignment, and sealants may be required to secure the guides. These tools ensure a precise and efficient replacement process, minimizing engine damage.
New valve guides, typically bronze, are essential for replacement. They often feature dual rings for secure seating. Sealants like RTV silicone ensure a leak-proof installation. Replacement valve guide sleeves may be needed if the cylinder head is damaged. Lubricants prevent galling during installation. Proper materials ensure durability and optimal engine performance. Always verify compatibility with your engine specifications before purchasing. Correct materials are crucial for a successful replacement. The process involves removing the old guides, often by pressing them out, and installing new ones. Reaming ensures proper fit and alignment. Precision is key. Removing old valve guides typically involves pressing them out carefully to avoid damaging the surrounding area. Use a deep well socket slightly larger than the guide to support it. Apply gentle pressure and ensure the guide is removed straight to prevent cylinder head damage. Some mechanics use a smaller socket on top for better control. Once removed, inspect the area for debris or damage before proceeding with the replacement. Installing new valve guides requires precision to ensure proper alignment and fit. Start by applying a thin layer of engine oil to the new guide for lubrication. Use a hydraulic press or specialized tool to press the guide into place, ensuring it is square to the valve seat. Once installed, ream the guide to the correct dimension for proper valve stem sealing and engine performance. Always follow manufacturer specifications for the reaming process to avoid over-tightening or misalignment. Pitfalls in the Replacement Process include improper alignment, using incorrect tools, and neglecting to ream guides post-installation. These errors can lead to poor engine performance. One common pitfall is using the wrong tools, such as a deep well socket that’s too small, which can damage the guide or surrounding material. Another mistake is improper alignment, leading to crooked installation and potential engine damage. Additionally, neglecting to ream the guides after pressing them in can result in poor fitment and reduced engine efficiency. Always ensure precise measurements and follow proper techniques to avoid these issues. Common issues during valve guide replacement include misalignment, incorrect reaming, and improper seating. Misalignment can cause uneven wear, while incorrect reaming may lead to a loose fit. If the guide doesn’t seat properly, it might indicate a sizing issue. Always check for squareness and ensure the guide is fully seated before reaming. Proper tools and techniques are essential to avoid these problems and ensure a successful replacement. Regular inspection can help catch issues early, preventing further damage. Excessive oil consumption, smoke from the exhaust, and increased engine noise are key indicators of worn valve guides. These symptoms signal potential guide failure. Worn valve guides often present with excessive oil consumption and blue smoke from the exhaust. Increased engine noise, particularly a tapping sound, is another common indicator. Over time, these symptoms can escalate, leading to reduced engine performance and efficiency. If left unchecked, damaged guides may cause valve misalignment, potentially resulting in costly engine repairs. Early identification of these signs is crucial for preventing further damage. Diagnosing valve guide failure involves a combination of visual inspection and specific tests. A leak-down test can reveal excessive leakage around the valves, indicating worn guides. Visual inspection may show abnormal wear patterns or movement in the guides. Measuring guide clearance with specialized tools helps confirm wear beyond acceptable limits. Additionally, misaligned valves or excessive oil consumption can signal guide failure. Early diagnosis is crucial to prevent further engine damage and costly repairs. Accurate measurements of the valve guide bore are essential to ensure proper fitment. The outside diameter of the new guide must match the engine’s specifications precisely. Proper measurements are crucial for selecting the right valve guides. Incorrect sizing can lead to improper fitment, causing engine performance issues, increased wear, and potential damage. Accurate measurements ensure optimal alignment and sealing, preventing oil leaks and maintaining efficiency. Always measure the valve guide bore and compare it with the manufacturer’s specifications to choose the correct replacement guides. This step ensures reliability and longevity of the engine. Selecting the correct replacement valve guides is vital for engine performance. Bronze guides are often recommended for their durability and heat resistance. Ensure the guides match the engine’s specifications and are compatible with the valve type. Consider the valve guide’s length and outside diameter to maintain proper fitment and prevent future wear. Consulting a machine shop or supplier can help in selecting the ideal guides tailored to your engine’s needs. Reaming ensures the new guides fit precisely, while installation requires pressing them into place. Proper alignment and sizing are crucial for optimal engine performance.
The reaming process involves using a specialized tool to enlarge the valve guide hole to the exact required diameter. This ensures a snug fit for the new guide, preventing excessive play or tightness. Proper reaming requires careful measurement and alignment to maintain cylinder head integrity. After reaming, the surface should be smooth and free of debris for optimal performance. When installing new valve guides, ensure they are pressed in evenly using a hydraulic press or specialized tool. Align the guide precisely with the valve seat to avoid misalignment. Apply a thin layer of oil to the guide’s outer diameter for smoother installation. After installation, ream the guide to the specified diameter to ensure proper valve stem clearance and optimal engine performance. This step is crucial for maintaining engine efficiency and longevity. Proper alignment is crucial for valve guide replacement. Use specialized tools like a hydraulic press and reamers to ensure accurate fitment. Always check the valve seat and stem clearance for optimal performance and engine longevity. Proper fitment is essential for valve guide replacement. After installation, use precision gauges to measure clearance between the valve stem and guide. Ensure the guide is square to the valve seat using alignment tools. Check for any signs of wobble or improper seating, as these can lead to poor engine performance and premature wear. Verify that the reamed diameter matches specifications for optimal sealing and operation. After installing new valve guides, perform a series of checks to ensure everything functions correctly. Start by verifying proper alignment and fitment, then test engine performance under various conditions. Verifying the replacement ensures the new valve guides are correctly installed. Begin by visually inspecting the guides for proper alignment and seating. Check for any signs of movement or misalignment, as these can indicate installation issues. Next, perform a leak test by applying compressed air to the guide area to detect any gaps or improper sealing. Finally, measure the guide’s concentricity and runout using precision tools to confirm they meet factory specifications. Proper verification guarantees optimal engine performance and prevents future complications such as oil leaks or valve damage. After replacing the valve guides, testing engine performance is crucial to ensure proper functionality. Start by running the engine and checking for leaks around the valve area. Monitor the engine’s idle and acceleration performance, ensuring smooth operation without unusual noises. Use diagnostic tools to check for any remaining issues, such as misfires or decreased compression. A properly functioning engine will display improved efficiency, reduced oil consumption, and enhanced overall performance. Valve guide replacement is a critical process that ensures optimal engine performance and longevity; Proper execution requires careful planning, precise tools, and adherence to best practices. Valve guide replacement is a precise process requiring careful planning and execution. Proper tools, accurate measurements, and adherence to best practices ensure optimal results. Worn guides can lead to engine inefficiency and damage, making replacement crucial for maintaining performance. Avoid common pitfalls like improper alignment or insufficient reaming, as these can compromise the repair. With attention to detail and the right techniques, valve guide replacement can restore your engine to peak condition and prevent future issues. Exploring additional resources and guides can deepen your understanding of valve guide replacement. Online forums, repair manuals, and instructional videos provide valuable insights and tips. Engaging with experienced mechanics and staying updated on new techniques enhances your skills. Continuous learning ensures you stay proficient in diagnosing and addressing valve guide issues effectively, making you more confident in tackling complex engine repairs and maintaining optimal engine performance. Explore repair manuals, instructional videos, and forums for detailed guidance on valve guide replacement. These resources offer practical tips and expert advice to aid your project. For comprehensive insights, refer to engine repair manuals like the Valve Guide Replacement Handbook. Additionally, technical forums and instructional videos provide step-by-step guidance. These resources cover tools needed and common pitfalls to avoid. They emphasize proper measurement techniques and the importance of selecting the right materials. By consulting these sources, you can ensure a successful replacement process and maintain optimal engine performance. Essential tools for valve guide replacement include deep well sockets, presses, and reamers. Reputable suppliers like Mahle and Oring provide high-quality guides. Specialized engine shops often supply precise measurement tools. Choosing the right tools ensures accurate fitment and prevents damage. Always refer to trusted brands to guarantee durability and performance. These tools and suppliers are crucial for a successful replacement process.Materials Required for Replacement
Step-by-Step Guide to Valve Guide Replacement
Removing the Old Valve Guides
Installing the New Valve Guides
Common Mistakes to Avoid During Replacement
Pitfalls in the Replacement Process
Troubleshooting Common Issues
Signs Indicating the Need for Valve Guide Replacement
Recognizing Wear and Tear Symptoms
Diagnosing Valve Guide Failure

Measuring and Selecting the Correct Valve Guides
Importance of Proper Measurements
Choosing the Right Replacement Guides
Reaming and Installing New Valve Guides
Reaming Process for Proper Fit
Installation Best Practices

Ensuring Proper Alignment and Fitment
Checking for Proper Fitment
Post-Installation Checks and Tests
Verifying the Replacement
Testing Engine Performance
Final Thoughts on Valve Guide Replacement
Encouragement for Further Learning
Additional Resources
Recommended Reading
Useful Tools and Suppliers