The NeuroTech Foot Massager is an innovative device designed to provide professional-quality foot care at home, utilizing advanced EMS and TENS technology to alleviate neuropathy, pain, and improve circulation for enhanced comfort and health.
1.1 Overview of the Device and Its Purpose
The NeuroTech Foot Massager is a cutting-edge, portable device designed to address foot and leg discomfort through advanced neuromuscular electrical stimulation (EMS) and transcutaneous electrical nerve stimulation (TENS) technology. Its primary purpose is to alleviate pain, improve blood circulation, and relax tense muscles. Targeting conditions like neuropathy, plantar fasciitis, and swelling, it offers a non-invasive solution for enhancing foot health. The device is user-friendly, allowing individuals to enjoy therapeutic benefits in the comfort of their own homes, making it an ideal choice for those seeking effective and convenient pain relief.
1.2 Key Features of the NeuroTech Foot Massager
The NeuroTech Foot Massager boasts multiple massage modes and adjustable intensity levels, allowing users to customize their experience for optimal comfort. It combines EMS and TENS technology to target pain, improve circulation, and relax muscles. The device is portable and easy to use, featuring a user-friendly interface. With clinically proven effectiveness, it addresses conditions like neuropathy and plantar fasciitis. Its design ensures safety and comfort, making it an excellent choice for daily use to enhance foot health and overall well-being.
Key Features and Benefits
The NeuroTech Foot Massager offers advanced features like multiple massage modes and adjustable intensity, providing personalized relief and improved circulation for optimal foot health and relaxation.
2.1 Multiple Massage Modes for Customized Experience
The NeuroTech Foot Massager features multiple massage modes, including rolling, kneading, and pulsating, designed to cater to individual preferences and needs. These modes allow users to customize their experience, whether they seek deep tissue relief, relaxation, or improved circulation. The device also incorporates adjustable intensity settings, enabling precise control over the massage pressure. This versatility ensures a tailored therapy session, addressing specific discomforts and promoting overall foot well-being.
2.2 Adjustable Intensity Levels for Personalized Relief
The NeuroTech Foot Massager offers adjustable intensity levels, allowing users to tailor the massage experience to their comfort and therapeutic needs. With a range of settings, the device delivers gentle stimulation for relaxation or intense relief for deep muscle tension. This feature ensures personalized comfort, making it suitable for individuals with varying sensitivities or conditions, such as neuropathy or muscle soreness. The ability to customize intensity enhances the effectiveness of each session, providing targeted relief and promoting overall foot and leg well-being.
2.3 Safety and Comfort in Design
The NeuroTech Foot Massager prioritizes safety and comfort with its ergonomic design and soft, cushioned surfaces. It features automatic shut-off and adjustable settings to prevent discomfort or overstimulation. The device is built with non-irritating materials, ensuring gentle contact with the skin. Its compact and lightweight structure allows for easy placement and use without strain. These design elements ensure a secure and soothing experience, making it suitable for daily use while maintaining therapeutic effectiveness and user satisfaction.
How to Use the NeuroTech Foot Massager
Place bare feet on the massager, select a mode, and adjust intensity. Use daily for 10-15 minutes to enhance comfort and therapeutic benefits effectively.
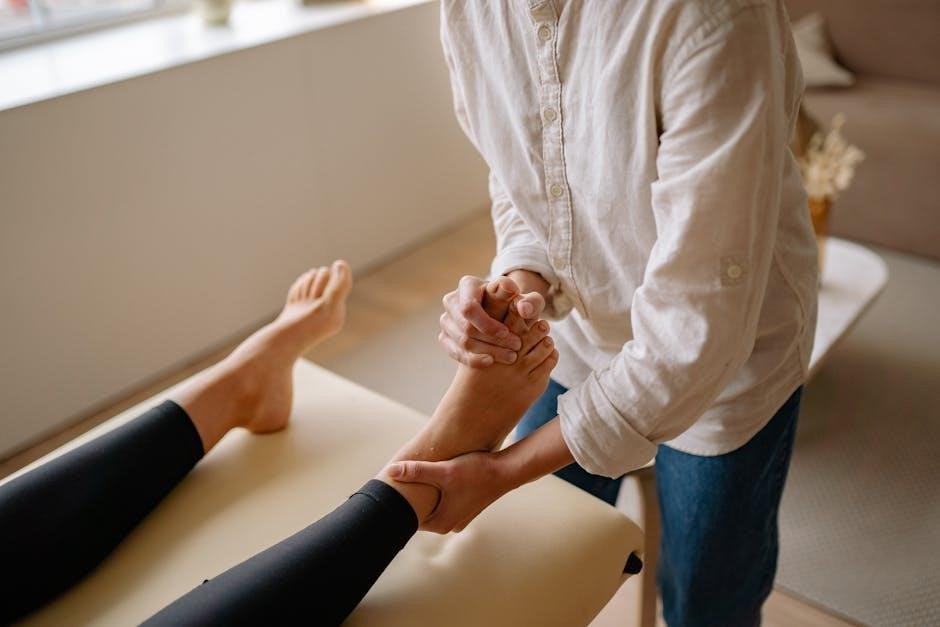
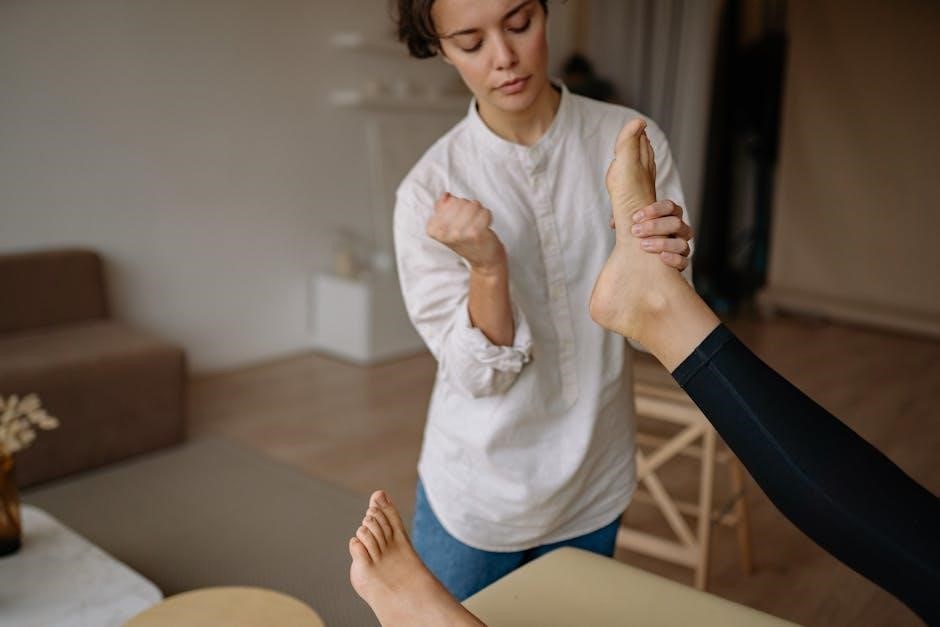
3.1 Step-by-Step Operating Instructions
Place your bare feet flat on the massager, ensuring good contact with the sensory pads. 2. Choose from multiple massage modes using the control panel. 3. Adjust the intensity levels (0-99) for a personalized experience. 4. Relax and let the device work for 10-15 minutes. 5. After use, turn off and clean the pads. Regular sessions promote circulation, muscle relaxation, and pain relief, enhancing overall foot health and comfort effectively.
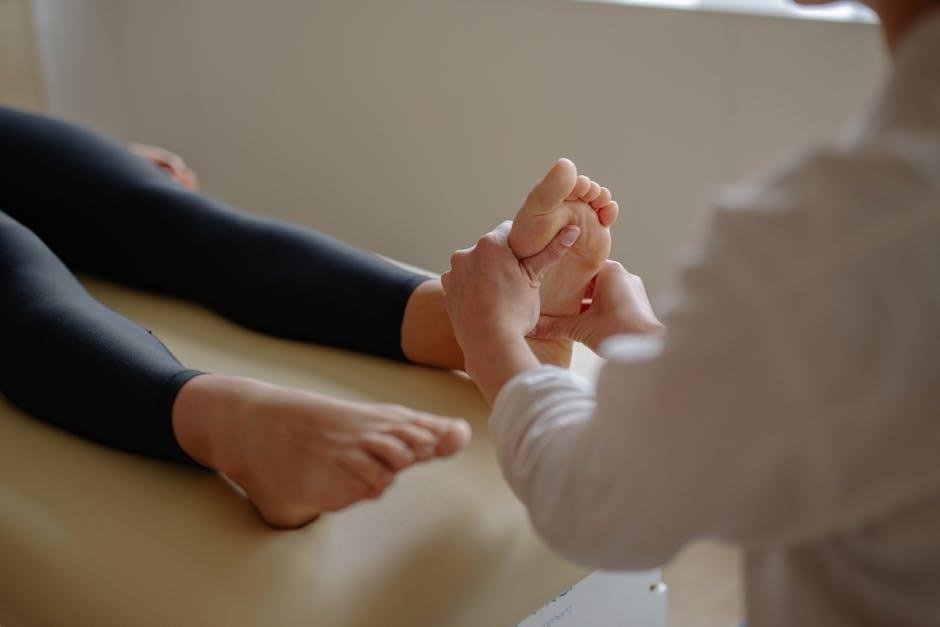
3.2 Proper Placement and Usage Techniques
For optimal results, place your bare feet flat on the massager, ensuring full contact with the sensory pads. Sit comfortably with your feet centered and knees slightly bent. Start with a lower intensity and gradually increase as needed. Use the device for 10-15 minutes per session, ideally once or twice daily. Avoid moving your feet during operation to maximize effectiveness. Proper placement ensures targeted stimulation of pressure points, enhancing circulation and pain relief while maintaining comfort and safety.
Benefits of Using the NeuroTech Foot Massager
The NeuroTech Foot Massager offers numerous benefits, including effective pain relief, improved blood circulation, and easing symptoms of neuropathy and plantar fasciitis. Regular use can reduce muscle tension, promote relaxation, and enhance overall foot health, ensuring long-term comfort and well-being.
4.1 Effective Pain Relief for Feet and Legs
The NeuroTech Foot Massager delivers exceptional pain relief by targeting specific areas of discomfort in the feet and legs. Utilizing advanced EMS and TENS technology, it stimulates muscles and nerves to alleviate chronic pain, neuropathy, and plantar fasciitis. The device’s low-frequency electrical pulses effectively target trigger points, providing immediate and noticeable relief. By improving blood circulation and reducing muscle tension, it offers long-lasting comfort for users. This makes it an ideal solution for those seeking effective, non-invasive pain management for their feet and legs.
4.2 Improved Blood Circulation and Muscle Relaxation
The NeuroTech Foot Massager enhances blood circulation through its advanced EMS technology, ensuring oxygen and nutrients reach tired muscles. Low-frequency electrical pulses stimulate blood flow, reducing swelling and stiffness. This promotes muscle relaxation, easing tension and discomfort. Regular use helps maintain healthy circulation, while the massager’s soothing effects calm the legs and feet. By targeting these areas, it provides a refreshing and rejuvenating experience, leaving users with a sense of lightness and renewed energy in their legs and feet.
Clinical Applications and Effectiveness
The NeuroTech Foot Massager is clinically proven to effectively treat neuropathy, plantar fasciitis, and foot drop, utilizing EMS and TENS technology for pain relief and improved circulation.
5.1 Use for Neuropathy and Plantar Fasciitis
The NeuroTech Foot Massager is highly effective for treating neuropathy and plantar fasciitis, offering targeted relief through low-frequency electrical pulses and EMS technology. It stimulates nerve endings, reduces inflammation, and enhances blood flow to damaged tissues. Regular use helps alleviate numbness, tingling, and chronic pain associated with neuropathy. For plantar fasciitis, it targets trigger points to relieve stiffness and discomfort. The device’s adjustable intensity ensures a personalized experience, making it a clinically proven solution for long-term foot health and pain management.
5.2 Role in Rehabilitation and Foot Health
The NeuroTech Foot Massager plays a significant role in rehabilitation by promoting muscle recovery and improving foot health. Its EMS and TENS technologies enhance blood circulation, reduce swelling, and relax tight muscles, making it ideal for post-injury or surgery recovery. Regular use helps prevent cramps, alleviates stiffness, and supports gait normalization. This device is particularly beneficial for individuals with foot drop or chronic foot conditions, offering a non-invasive solution to restore mobility and comfort, thereby aiding in the overall rehabilitation process and maintaining long-term foot wellness.
Maintenance and Troubleshooting
Regularly clean the NeuroTech Foot Massager with a damp cloth and avoid harsh chemicals. Check for damage and ensure proper connectivity. For troubleshooting, refer to the manual or contact customer support for assistance.
6.1 Cleaning and Upkeep Tips
Regular cleaning of the NeuroTech Foot Massager is essential for maintaining its functionality and hygiene. Use a soft, damp cloth to wipe down the surface, avoiding harsh chemicals or abrasive materials. Ensure the device is dry before storage to prevent moisture buildup. For optimal performance, inspect the massager for any signs of damage or wear. Refer to the manual for specific cleaning instructions or contact customer support for further guidance. Proper upkeep ensures longevity and safe operation.
6.2 Common Issues and Solutions
If the NeuroTech Foot Massager does not turn on, check the power source and ensure it is properly connected. For uneven intensity, adjust the settings or consult the manual. If skin irritation occurs, discontinue use and clean the device thoroughly. Contact customer support for persistent issues. Regular maintenance and proper usage can prevent most problems, ensuring optimal performance and user satisfaction. Always refer to the troubleshooting guide in the manual for detailed solutions.
User Testimonials and Reviews
Users praise the NeuroTech Foot Massager for its effectiveness in relieving pain and improving circulation. Many describe it as life-changing, particularly for neuropathy and plantar fasciitis. Easy to use and portable, it delivers professional-quality massages at home, enhancing overall foot health and comfort.
7.1 Real-Life Experiences with the NeuroTech Foot Massager
Users share remarkable stories of relief and improved foot health. Many report significant reduction in neuropathy symptoms and plantar fasciitis pain after regular use. The device’s portability and ease of use make it a favorite for daily routines. Several customers highlight its ability to improve circulation and reduce swelling, while others praise its effectiveness in alleviating chronic foot pain. Overall, the NeuroTech Foot Massager has become a trusted solution for those seeking long-term comfort and wellness for their feet.